The Mudroom Bench Build That Tames Any Family Entryway
Sizing, materials, and the IKEA-hack shortcut that gets you a built-in look for under $500.
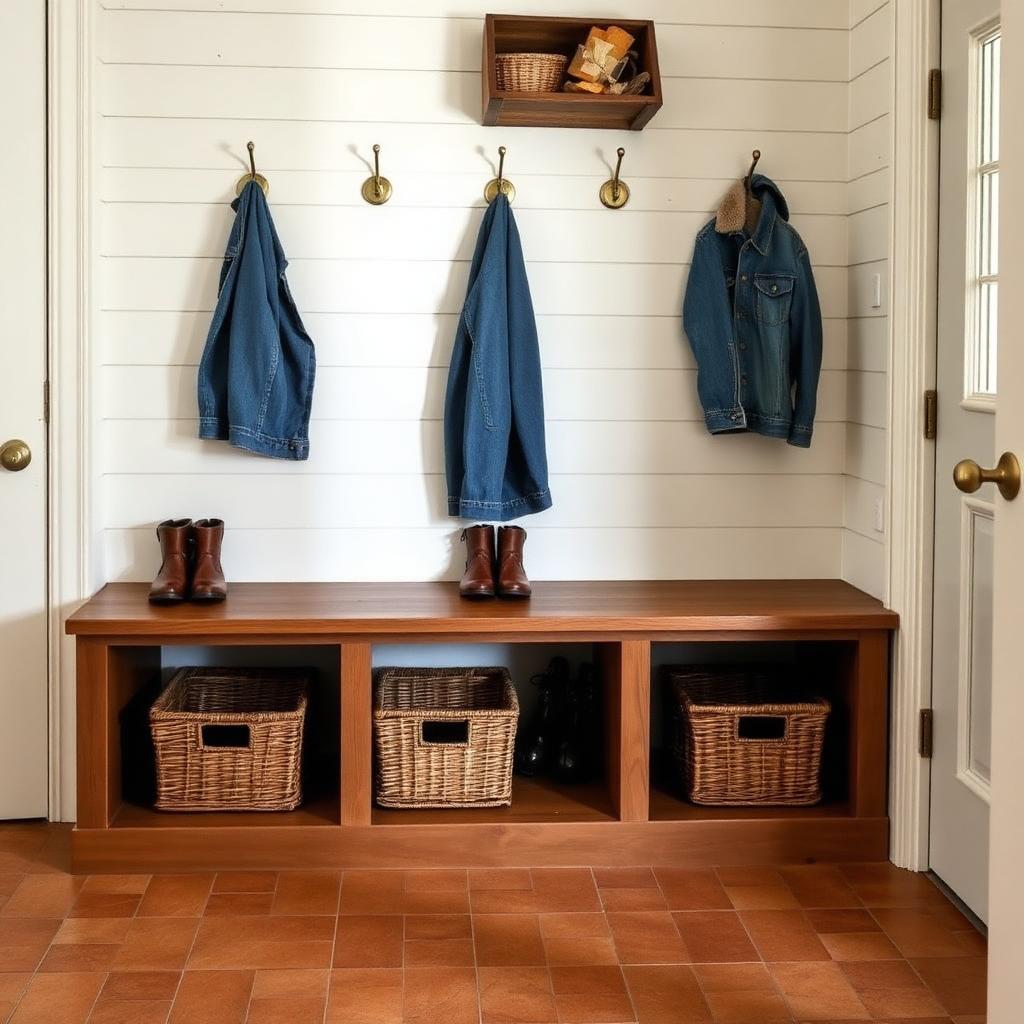
The mudroom is the most underrated room in any home. Most houses do not actually have one; what they have is a back door area where coats and shoes and bags and mail and dog leashes pile up in a slow, escalating chaos that nobody admits is a problem until it is unmanageable. The fix is almost always the same: a single built-in bench with cubby storage underneath and a small wall of hooks above. This is a guide to designing, building, and living with one, in any size house, even one that does not technically have a mudroom.
Why a bench-with-cubbies is the whole answer
The reason mudrooms work — when they work — is that they give every category of incoming item a specific home. Coats on hooks. Shoes in cubbies. Bags on the bench. Mail in a small wall basket. Nothing has to be put away to look tidy; the system itself enforces the tidiness. The single bench with cubbies underneath does three of those four jobs in one piece of furniture, which is why it appears in basically every well-designed mudroom you have ever seen on a home tour.
A bench also solves the largest single problem in any entryway: where do people sit to take off shoes? The answer in most houses is 'they don't, they balance on one leg and curse.' A bench changes the small daily friction of leaving and entering the house in a way you only fully appreciate after living with one.
Sizing the bench for your space
The ideal mudroom bench is 18 inches deep, 17 to 18 inches tall (standard seat height), and as long as your wall allows. Anything shorter than 36 inches in length feels token; the sweet spot for a family of four is 48 to 60 inches. The cubbies underneath should be roughly 12 inches tall, deep enough to hold an adult shoe (10 to 11 inches), and divided into compartments wide enough to hold a pair of boots upright (about 10 to 12 inches per cubby).
If you are working with a true mudroom space, build wall-to-wall. If you are working with an entry hall or back-door corner, a freestanding piece in the same proportions reads as 'intentional architecture' rather than 'a piece of furniture I bought to solve a problem.'
The hooks above the bench
Mount hooks 60 to 64 inches off the floor for adults; install a second, lower row at 48 inches for children. Choose hooks rated for serious weight (brass or solid metal, not stamped tin) and space them 8 inches apart minimum so jackets do not crush each other. Three to five hooks is right for most households; more than that and the wall starts to look like a coatroom.
Materials that survive real use
The bench takes more abuse than any other piece of furniture in the house. Wet boots in winter, sandy feet in summer, dogs jumping up, kids sitting and bouncing. Build it from solid wood, not particle board, and finish the top with a hard-wearing polyurethane (not oil — oil cannot handle the water). The cubbies can be a less hard-wearing finish since they take less direct abuse.
Under the bench, put a tile or vinyl floor if you can — anything but carpet, which traps moisture and ages catastrophically in an entry zone. A small jute rug in front of the bench catches the worst of the tracked-in dirt and replaces every two years for forty dollars.
The DIY build, or the IKEA hack
If you have a circular saw, a drill, and a confident weekend, you can build a wall-to-wall mudroom bench from 3/4-inch plywood and 1x4 trim for under $200 in materials. If you do not, the most popular shortcut is an IKEA hack: a row of low cabinets (the KALLAX or BESTÅ series both work) topped with a custom-cut wood plank as the bench seat. The whole hack runs $300 to $500 depending on finishes and looks built-in once you add baseboard trim along the bottom.
- ✓3/4-inch plywood (cabinet-grade) for bench frame and cubby dividers
- ✓1x4 poplar or pine for trim and face frames
- ✓Polyurethane finish (satin, water-based, indoor-grade)
- ✓Solid metal hooks, four to six
- ✓Three to four woven baskets sized to the cubbies
- ✓Small jute or tile-friendly mat for under the bench
- 1
Plan around the longest item
Measure the longest pair of adult winter boots in the house. The cubbies need to fit them flat. This single measurement drives every dimension.
- 2
Build a torsion box base
A simple plywood torsion box (two horizontal panels separated by vertical dividers) gives the bench rigidity and creates the cubby pattern in one step. Glue and screw, no fancy joinery required.
- 3
Add the bench top
A single piece of solid wood or thick edge-glued plywood, slightly oversized, sanded to 220, finished in three coats of polyurethane with a light sand between coats.
- 4
Trim and paint
Add baseboard at the bottom, a small face frame at the front, and either stain or paint the whole thing. Stained-and-finished poplar looks just as good as oak at a third the price.
- 5
Install hooks last
Mount the assembled bench against the wall, then locate studs and install hooks above. Doing hooks first guarantees the spacing will be wrong.
Styling the cubbies so the room still looks designed
Three woven baskets, one per cubby, instantly hide whatever chaos is inside. Label them by family member or by category (shoes / bags / accessories). One small framed print above the hooks, a single trailing plant on the bench corner, and one ceramic catch-all dish for keys. That is the whole styling. Resist the urge to add a sign that says 'mudroom' — the room is allowed to be a room without announcing itself.
"The best mudrooms do not look organized. They look unbothered."
— HomeBliss editorial, February 2026
Frequently asked questions
I don't have a mudroom — can I still do this?
Yes. Any unused stretch of wall near your most-used door is a mudroom waiting to happen. A 48-inch freestanding bench against a hallway wall solves 90% of the same problems as a built-in.
What about a small condo entry?
Go vertical instead. A narrow tall cabinet (12 inches deep, floor to ceiling) with hooks mounted on the side and a small bench tucked beside it gives you the same functions in a third of the footprint.
How do I handle wet boots?
Keep a small boot tray (rubber or galvanized metal) inside one of the cubbies — wet boots go there immediately and dry overnight. Empty it weekly.
Final thoughts
A mudroom bench is one of those rare upgrades that genuinely improves the daily texture of life in a house. Five hundred dollars or so in materials, two weekends of work, and the entryway never falls apart the same way again.
Pin this for later
Save this guide to your Pinterest board so it's there when the weekend hits.
📌 Pin it on PinterestWas this helpful?

Jordan Reyes
DIY Projects Editor
Jordan runs the DIY desk at HomeBliss. A self-taught woodworker and longtime renter, he's spent the last decade figuring out which projects are actually worth doing and which ones cost more than just buying the thing. He writes tutorials the way he wishes someone had written them for him at twenty-three.
Related articles
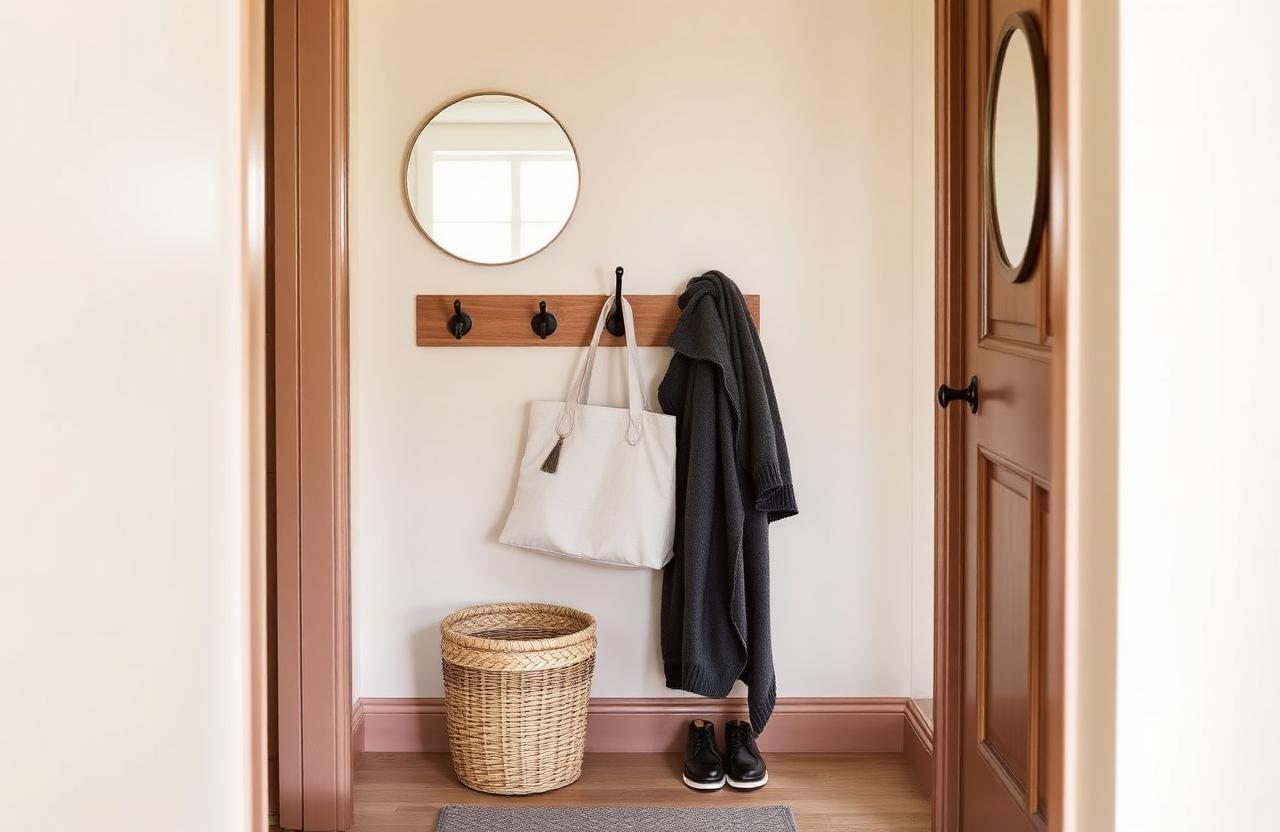
Narrow Entryway? Here's How to Style 18 Inches of Wall
A wall hook trio, a slim console alternative, and the basket that solves shoe pile-up forever.
Jordan Reyes·7 min read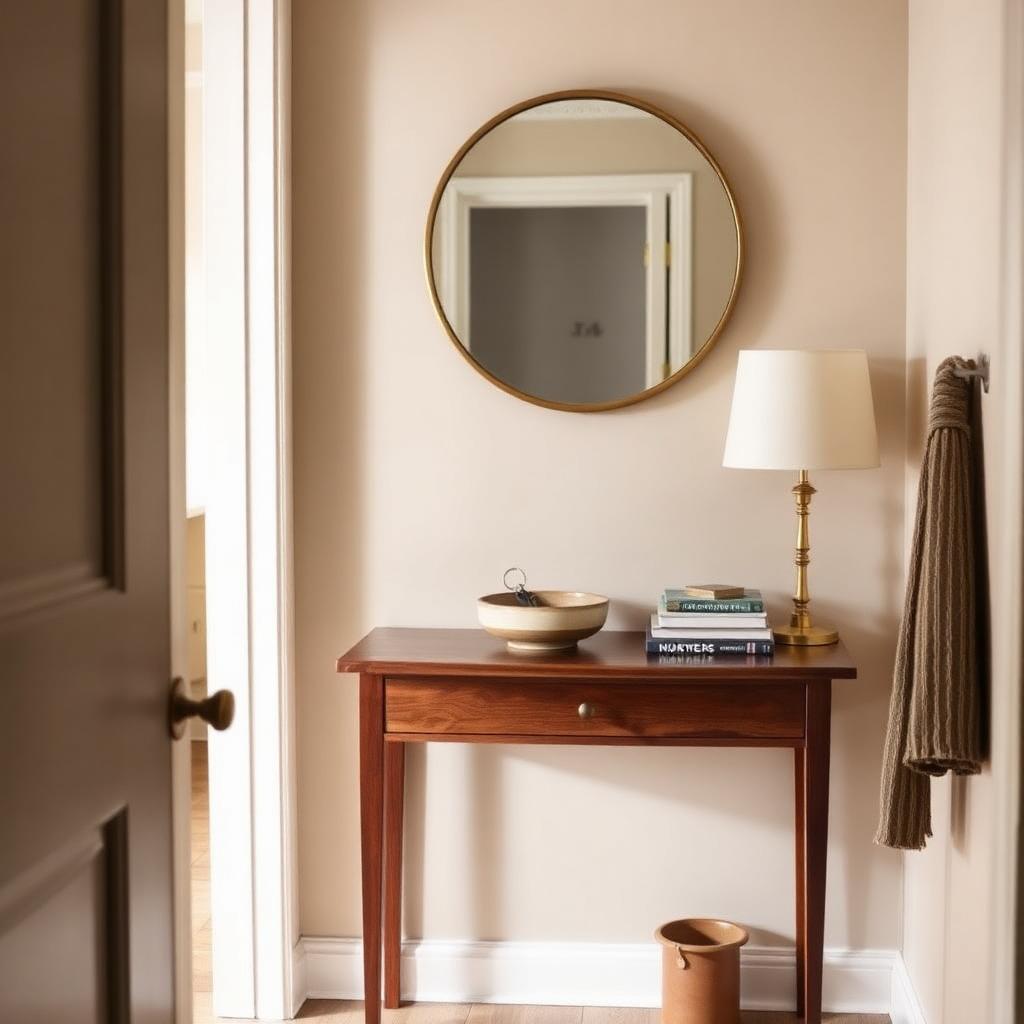
Console Table Styling: The Three-Object Triangle That Magazine Stylists Use
The formula that turns any entry table into a vignette — three heights, one mirror, and the basket below.
 Emma Clarke·8 min read