Outdoor String Lights: The Hanging Pattern That Actually Looks Good
Avoid the sad backyard zig-zag — the catenary curve trick and the bulb spacing that matters.
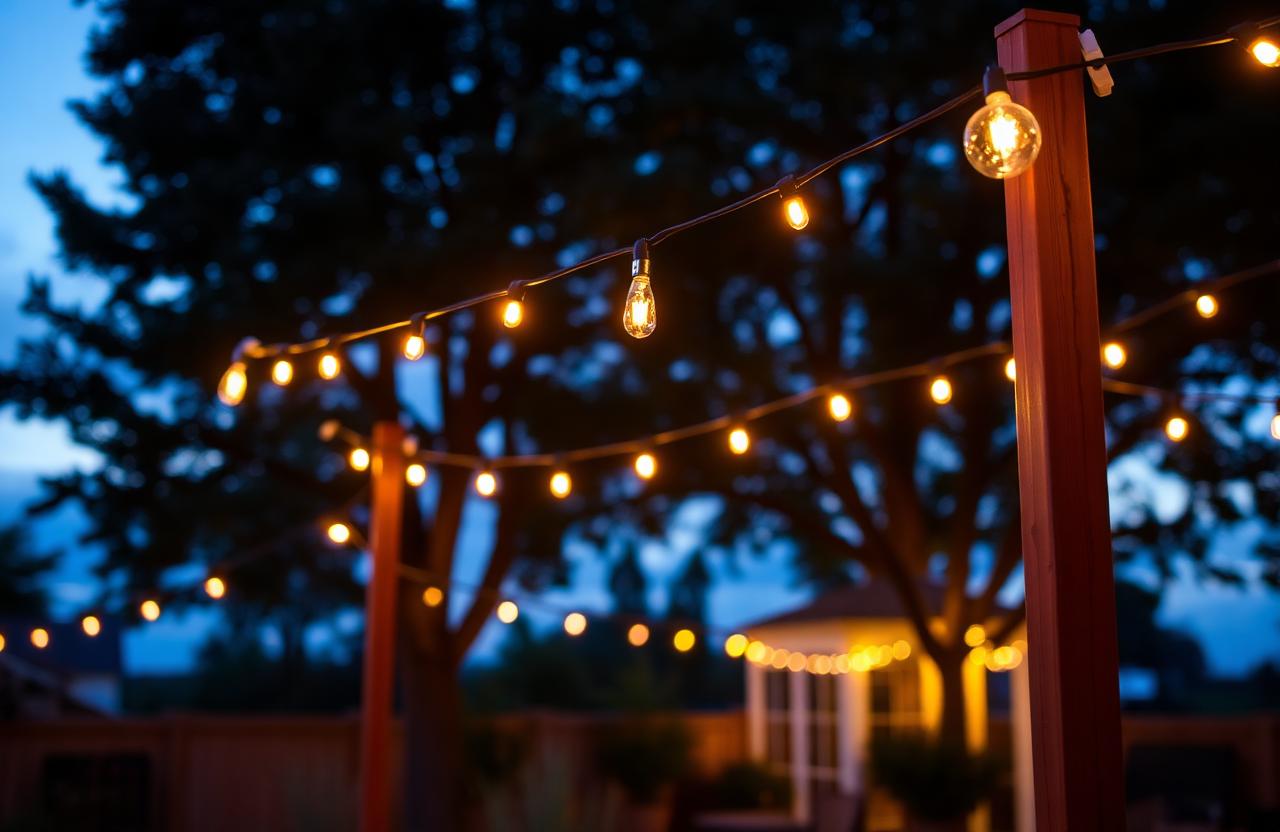
String lights are either the best thing in your backyard or a sad tangle that looks like you're never quite done with Christmas. The difference is hanging them correctly. I've hung lights for porches, patios, weddings, and one very memorable backyard karaoke setup, and the same mistakes show up everywhere. Here's the guide that should come in the box: how to hang outdoor string lights so they actually look good.
The catenary curve is your friend
A catenary is the natural curve a string makes when hung between two points. Instead of pulling the lights tight like a tightrope, let them droop gently — about twelve to eighteen inches of sag for every ten feet of horizontal span. This sag creates the soft, romantic look you see at Italian trattorias. Taut lights look tense; drooping lights look effortless.
The mistake most people make is fighting the sag. They want everything perfectly level, so they over-tighten or add too many hooks. Don't. Let the string do what it wants, and the result will look much better.
Bulb spacing matters
For outdoor string lights, twelve-inch bulb spacing is standard and works for most patios. If you're covering a larger area, eighteen-inch spacing keeps the look open without too many bulbs. Avoid the tightly packed strands designed for Christmas trees — they're too bright and too cluttered for patio use.
How to hang them without a pergola
No pergola? No problem. You have options: use outdoor-rated string light poles staked into planters or the ground; mount cup hooks into fence posts or exterior walls; or run guide wire between two high points and clip the lights to the wire. Poles are the most popular solution because they're portable and can be moved if you rearrange the patio.
The installation sequence
- 1
Plan your layout
Measure the distance between mounting points. Order more lights than you think you need — you can always drape extra, but running short ruins the look.
- 2
Set your anchor points
Poles, hooks, or guide wire at the same height on both ends. Don't try to hang from trees unless you want to re-hang them every time the wind blows.
- 3
Run the strand
Start at the power source and work outward. Clip the lights to the wire or pole, leaving intentional sag every few feet.
- 4
Plug in and test
Check for dead bulbs or uneven sections before making any final adjustments. Step back and adjust sag until it looks natural.
"Taut lights look tense. Drooping lights look effortless. Let the catenary win."
— Jordan Reyes
Frequently asked questions
Do outdoor lights need to be weather-rated?
Yes. Look for IP44 or higher for outdoor use. Indoor lights will fail quickly if left outside.
LED or incandescent?
LED. They last longer, use less power, and stay cooler. Modern warm LEDs look nearly identical to incandescent.
How high should lights hang?
Eight to ten feet overhead is a good range. Lower feels intimate; higher feels like a festival. Match the scale of the space.
How do I make them dimmable?
Use a plug-in outdoor dimmer or smart plugs. Some LED strands come with built-in dimmers as well.
Can I leave them up year-round?
If they're outdoor-rated, yes. Unplug during severe weather. The bulbs will eventually burn out but can be replaced.
Final thoughts
String lights are cheap, forgiving, and transformative. Hang them once, hang them right, and every evening in your backyard will feel like vacation. Start this weekend.
Pin this for later
Save this guide to your Pinterest board so it's there when the weekend hits.
📌 Pin it on PinterestWas this helpful?

Jordan Reyes
DIY Projects Editor
Jordan runs the DIY desk at HomeBliss. A self-taught woodworker and longtime renter, he's spent the last decade figuring out which projects are actually worth doing and which ones cost more than just buying the thing. He writes tutorials the way he wishes someone had written them for him at twenty-three.
Related articles
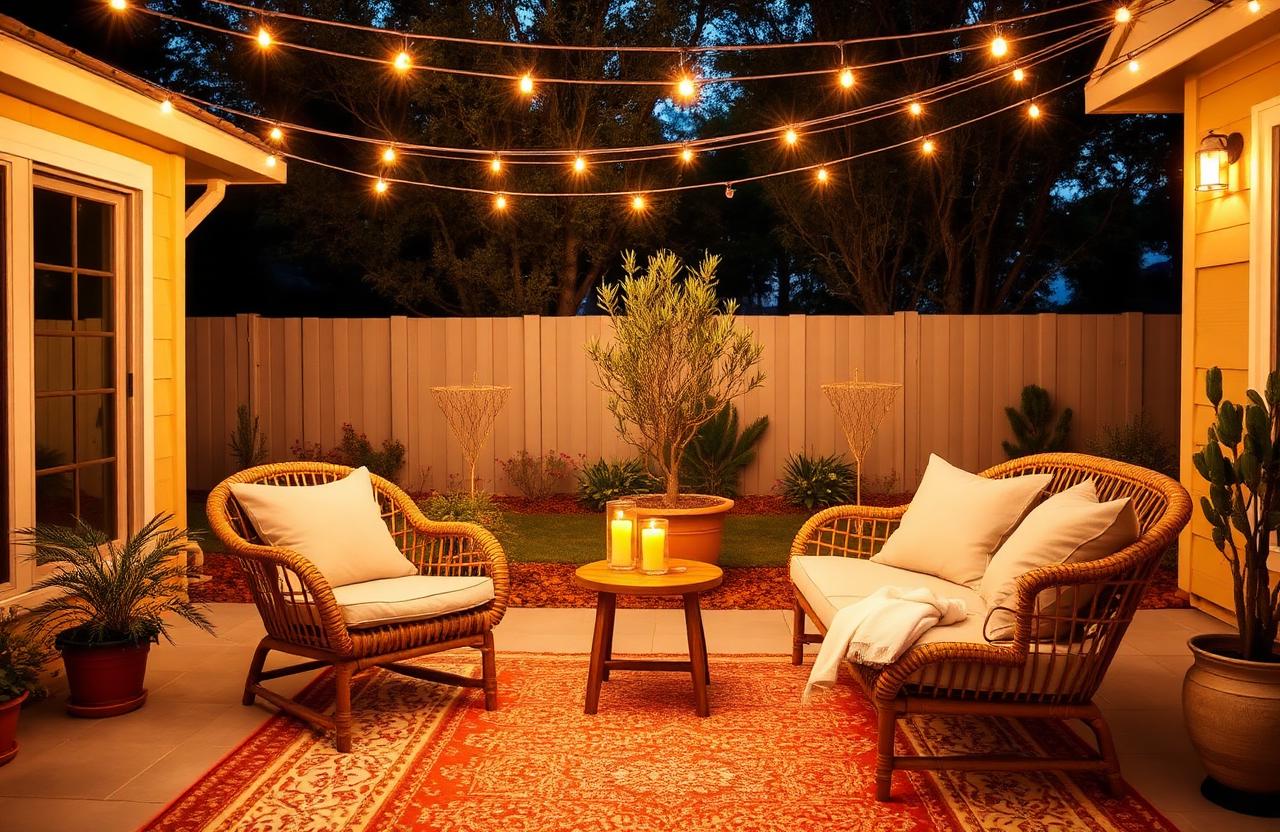
Outdoor Patio Makeover on a Budget: Our $250 Backyard Reset
String lights, a thrifted rug, and the one container plant that did all the heavy lifting.
 Maya Patel·9 min read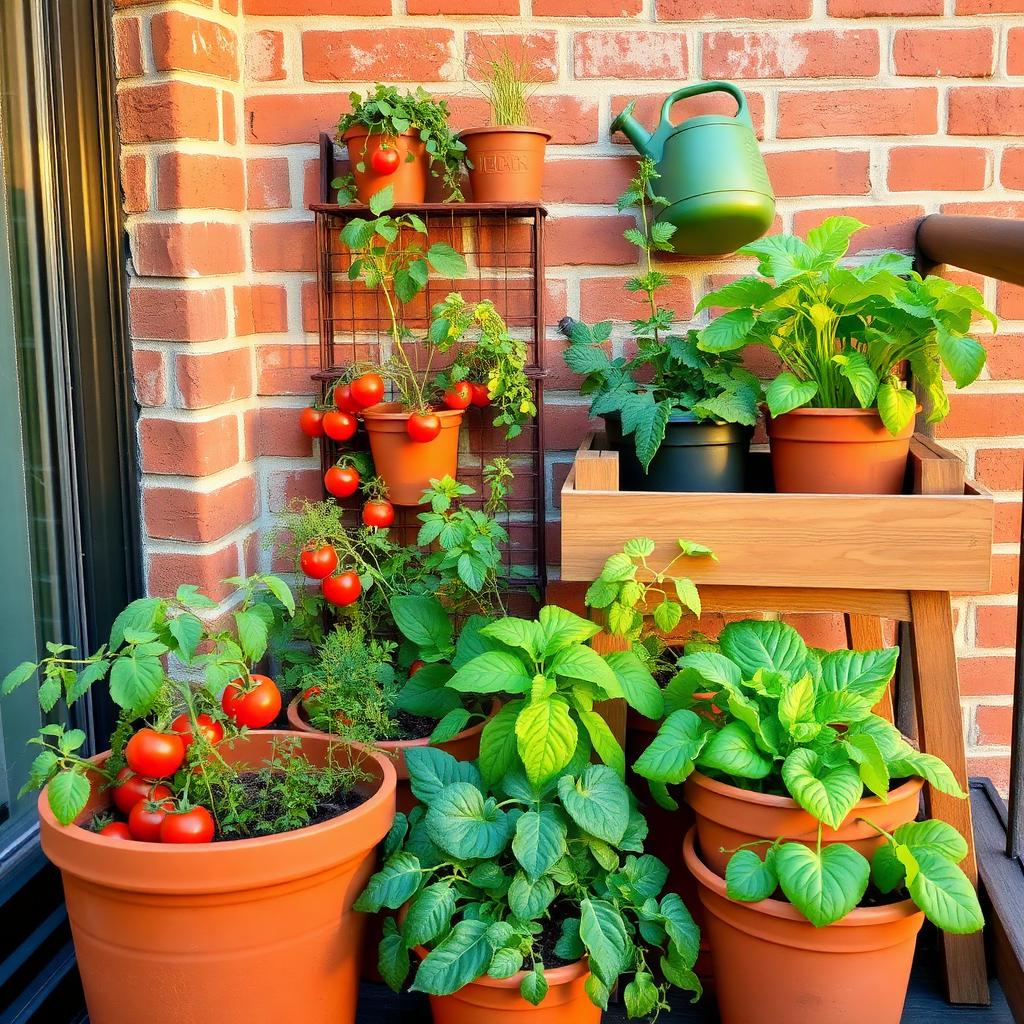
Container Vegetable Garden for Tiny Balconies (5 Plants, 6 Pots, Real Food)
The first-timer's roadmap to growing actual meals on a balcony — pots, soil, plants, and the 5-minute daily routine.
Jordan Reyes·10 min read