Butcher Block Island: The Complete Buying & Install Guide
Edge grain vs end grain, the species worth the money, and the weekend install that saves thousands over stone.
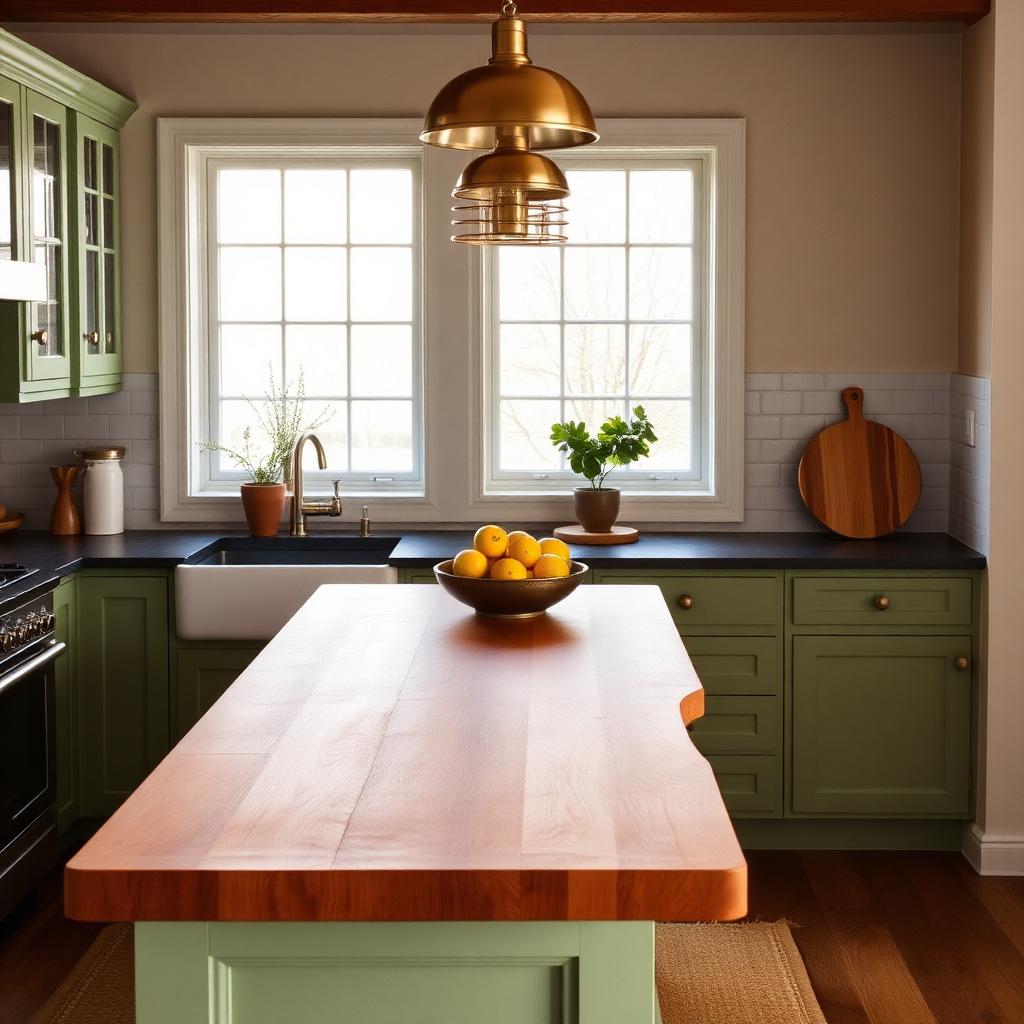
If you have spent any time on home decor accounts in the last two years, you have noticed the slow, quiet return of the butcher block. After a decade of cold quartz and engineered stone dominating every kitchen, warm wood is back at the center of the room, and it is back for reasons that have very little to do with trend. Butcher block is cheaper, kinder to dishes, easier to repair, and ages into something genuinely beautiful rather than something you eventually want to replace. This is a guide to specifying, installing, and living with a butcher-block island top — written by someone who has done it three times in three different houses.
Why butcher block is having a moment again
The pendulum in kitchen design swings, like every other room, on a roughly fifteen-year cycle. The early 2010s gave us white quartz, marble-look everything, and gray-on-gray cabinetry. By 2024 we were exhausted by it. Warm wood, sage green cabinets, brass fixtures, and visible grain came back in force, and the butcher-block island became the centerpiece of the new warm kitchen. But unlike many design comebacks, this one is genuinely practical: a wood top is forgiving in a way no stone surface ever will be.
It is also significantly cheaper. A linear foot of butcher block typically runs a fraction of the cost of quartz, and you can install it yourself in a weekend with hand tools you probably already own. For a kitchen renovation on a real budget, swapping the planned island top from stone to wood often saves enough money to fund the rest of the cosmetic upgrades you wanted but cut from the plan.
The three types of butcher block — and which one to buy
Edge grain
Long strips of wood glued edge to edge. This is the most common, the most affordable, and what you'll find pre-cut at any big-box home store. It looks clean and modern, holds up well to general use, and is the right choice for an island that will mostly hold mixing bowls, the occasional cutting board, and beautiful citrus arrangements. Not the right choice if you plan to chop directly on the surface daily.
End grain
Small squares of wood glued with the grain pointing up — the classic checkerboard butcher-block look. End grain is significantly more expensive and harder to source, but it is the only type you should actually chop on directly because the fibers self-heal around the knife. If you are building a working baker's island or a dedicated prep station, this is the one.
Face grain (plank)
Wide planks laid flat. This is the prettiest of the three, with the most dramatic visible grain, but it is also the most prone to warping and the least forgiving of water. Save it for low-traffic surfaces — a baking nook, a coffee bar, a small kitchen workstation that does not see daily abuse.
Wood species, ranked by how they age
Maple is the safe choice — pale, even-toned, takes any finish, and ages predictably. Walnut is the dramatic choice — deep chocolate brown, beautiful grain, but pricier and slightly softer. Cherry is the romantic choice — starts pink and ages into a deep amber-red over five years, which some people love and others find unsettling. Oak is the budget choice — open grain that catches crumbs but reads as honest and farmhouse-warm. Beech is the European choice — fine grain, neutral color, increasingly available in the US. Avoid teak (too oily to finish well for kitchens) and bamboo (it looks great year one and terrible year four).
Installation in a weekend, with a friend
I have installed three butcher-block island tops and the process is genuinely accessible. You need a circular saw, a drill, a sander, mineral oil or a food-safe finish, and one patient friend. Most home stores will cut the slab to your rough dimensions for free; you only need to do the final scribing and the cutout for any sink or outlets at home.
- ✓Butcher block slab, slightly oversized vs. final cut
- ✓Circular saw with a fresh fine-tooth blade
- ✓Random orbital sander, 80/120/220 grit pads
- ✓Food-safe finish — mineral oil or a beeswax blend
- ✓Silicone caulk (kitchen grade) for the seam
- ✓Stainless steel fasteners and figure-8 mounting clips
- 1
Measure twice, scribe once
Lay the slab on top of the cabinets, mark the final cut line with painter's tape, and scribe carefully. Cut a quarter inch long and sand the final edge for a precise fit.
- 2
Sand in stages
Start at 80 grit to flatten any unevenness, move to 120, finish with 220. Vacuum thoroughly between grits. The smoother the final sand, the better the finish bonds.
- 3
Flood with oil
Pour a generous amount of food-safe mineral oil across the top and let it soak in for ten minutes. Wipe the excess. Repeat three more times over twenty-four hours. The wood will stop drinking when it is saturated.
- 4
Mount with movement in mind
Use figure-8 metal clips through the cabinet frame rather than screwing the slab down tight. Wood moves seasonally — clips let it expand and contract without cracking.
- 5
Seal the perimeter
Run a tiny bead of food-safe silicone caulk where the slab meets the wall or backsplash. This is the single biggest defense against water damage at the seam.
Living with wood: the maintenance reality
Re-oil once a month for the first six months, then every three months for life. It takes five minutes. Wipe up spills immediately — wood is forgiving but not infinitely so. Use cutting boards for actual chopping unless you bought end grain. Scratches and small dents can be sanded out at any time, which is a thing you cannot say about any stone surface ever invented. Once a year, a light overall sand with 220 grit and a fresh oil flood and your top looks new again.
"Stone never improves. Wood does. Choose the surface that earns character instead of losing it."
— HomeBliss editorial, March 2026
Frequently asked questions
Will it stain from red wine and tomato sauce?
It can, slightly, if a spill sits for hours. Wipe within ten minutes and you are fine. Any stain that does set can be sanded out — try doing that with quartz.
Is it sanitary?
Yes. Multiple food-science studies have shown wood is actually more antimicrobial than plastic or stone over time, due to its capillary action drawing bacteria below the surface where they die.
Can I put hot pots directly on it?
No. Use a trivet. Direct heat will scorch the finish and possibly the wood. This is the only real downside compared to stone.
Final thoughts
A butcher-block island is a kitchen choice that gets better every year you own it, requires almost no specialized skill to install, and costs less than the alternative. If you are renovating on a real-life budget, this is the upgrade I recommend more often than any other.
Pin this for later
Save this guide to your Pinterest board so it's there when the weekend hits.
📌 Pin it on PinterestWas this helpful?

Jordan Reyes
DIY Projects Editor
Jordan runs the DIY desk at HomeBliss. A self-taught woodworker and longtime renter, he's spent the last decade figuring out which projects are actually worth doing and which ones cost more than just buying the thing. He writes tutorials the way he wishes someone had written them for him at twenty-three.
Related articles
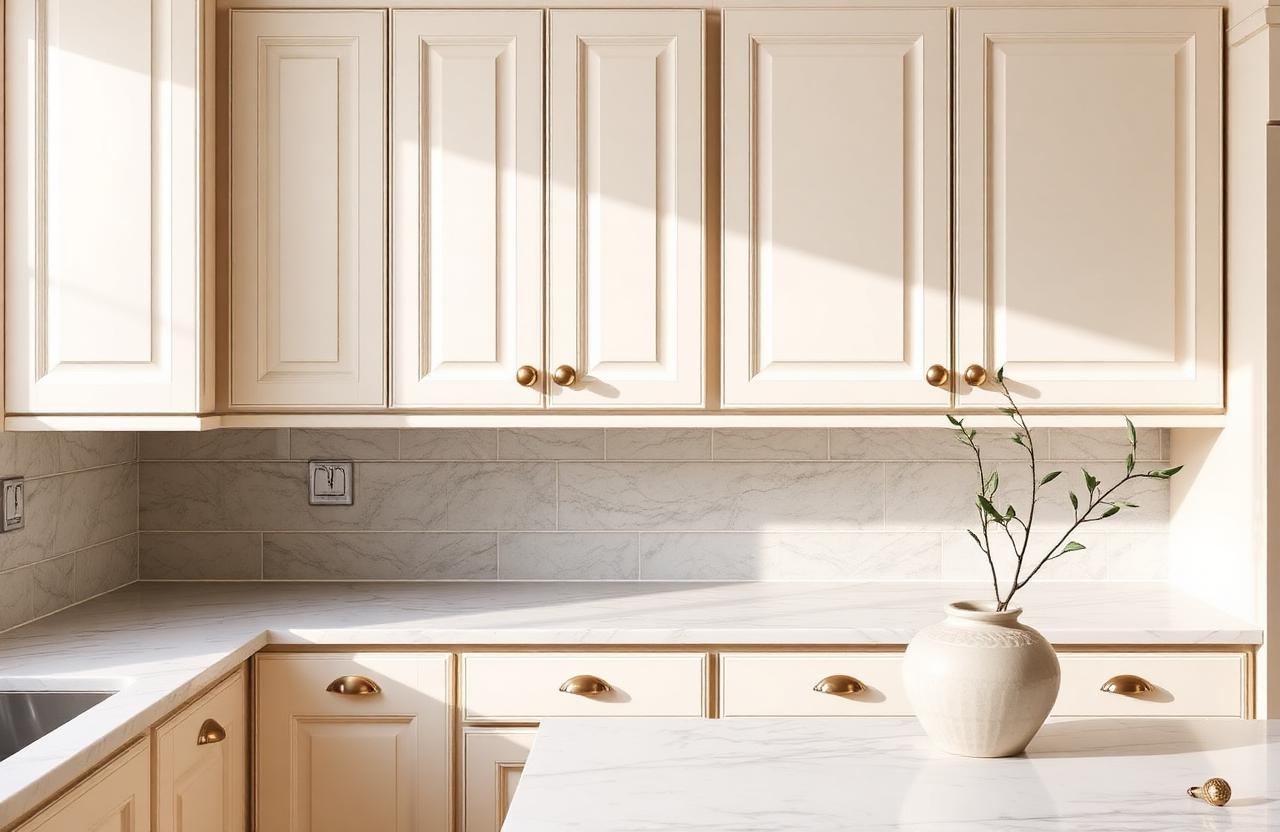
Kitchen Cabinet Refresh — Without Painting a Single Door
New hardware, peel-and-stick, and three rental-safe tricks that read as a full reno.
 Emma Clarke·8 min read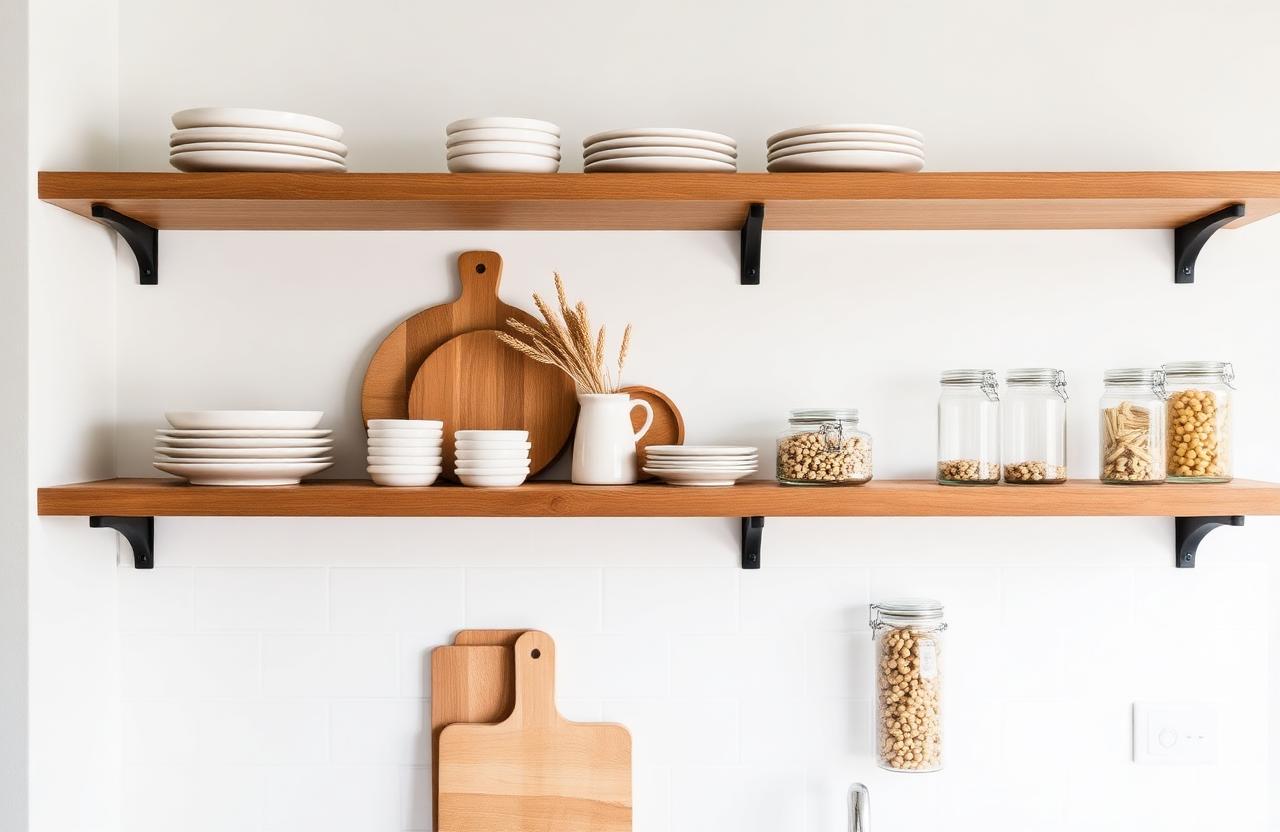
Open Shelving Without the Clutter: A Real-Life Styling Guide
What to keep, what to hide, and the warm wood tone that hides fingerprints best.
Emma Clarke·8 min read