Kitchen Cabinet Refresh — Without Painting a Single Door
New hardware, peel-and-stick, and three rental-safe tricks that read as a full reno.
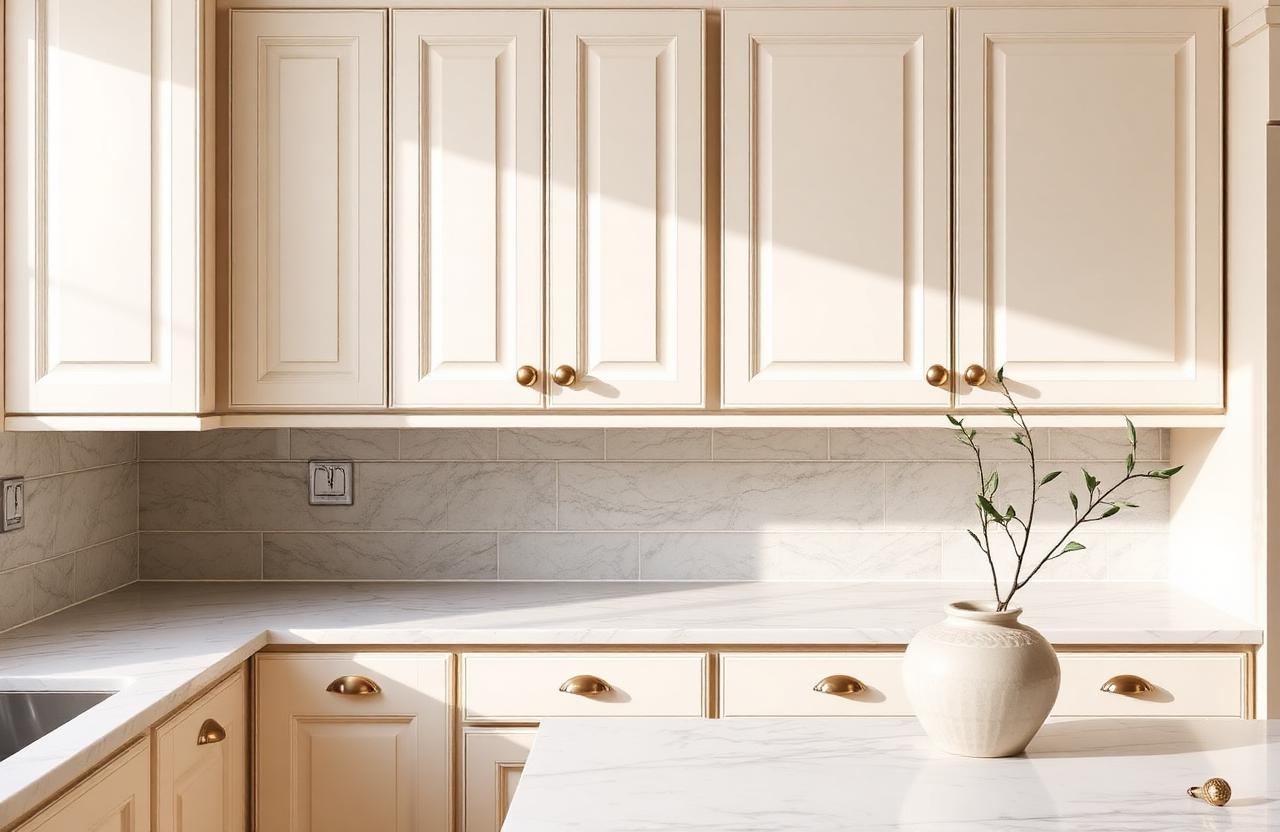
My kitchen cabinets were ugly. Not retro-ugly, not charming-ugly — just builder-grade, yellowed-oak, pulls-from-1994 ugly. And since I was renting, painting wasn't an option. So I figured out how to make them look good anyway. Three rental-safe changes, zero paint, one Saturday morning. Here's the playbook for refreshing your cabinets without a brush in sight.
Why hardware matters more than you think
Cabinet hardware is like jewelry for your kitchen. Swap those shiny brass knobs from the nineties for matte black or brushed brass pulls, and the whole room shifts. It's a fifteen-minute job per drawer, and it makes an outsized difference in how modern the space feels. This one change single-handedly took my kitchen from 'dated rental' to 'intentionally curated.'
When choosing hardware, measure the hole spacing on your existing pulls (center to center). Most standard pulls use 3-inch or 3.75-inch spacing. Match that, and you won't need to drill new holes. If you're replacing knobs, any knob will work — just make sure you like how it feels in your hand.
Peel-and-stick for the win
Peel-and-stick contact paper has come a long way. Modern versions look like marble, linen, or even real wood veneer — and they peel off cleanly when you move out. I used a matte marble pattern on the inside backs of my open shelves and a warm oak wood-grain on the cabinet door panels. It softens the yellow oak and adds visual interest without touching the finish.
Under-cabinet lighting changes everything
The third change is peel-and-stick LED light strips under the upper cabinets. They cost about twenty dollars, run on batteries or plug into an outlet, and turn your kitchen from dim and shadowy to warm and functional. When friends come over, they notice the lighting before anything else. It makes the space feel intentional.
I mounted mine along the front edge of the cabinet underside, facing down. The glow hits the countertop and backsplash, and the strip itself is hidden unless you duck down. It's a restaurant-quality look for the price of a takeout meal.
"Hardware is jewelry for your kitchen. Change the pulls, change the room."
— Emma Clarke
What NOT to do in a rental
Avoid anything that requires drilling new holes you can't fill. Avoid adhesive hooks that might strip paint or finish when removed. And definitely avoid chalkboard paint, tile stickers that don't peel cleanly, or 'temporary wallpaper' that turns out not to be temporary. Stick to changes that uninstall as easily as they install.
Frequently asked questions
Will my landlord notice the hardware change?
Yes, but most don't care as long as you can swap the original hardware back when you leave. Save the old pulls in a box and reinstall them during your move-out day.
Does peel-and-stick really come off clean?
Quality brands do. Look for 'removable' on the label and check reviews. When you remove it, go slow and pull at a low angle. If adhesive remains, a little Goo Gone cleans it up.
Can I use peel-and-stick on cabinet fronts?
Yes, but it's harder to get a seamless look on raised-panel doors. It works best on flat-slab doors or inside surfaces where edges aren't visible. Practice on a hidden cabinet first.
What color hardware should I choose?
Matte black reads modern and works with almost everything. Brushed brass is warmer and pairs well with wood and white. Avoid shiny chrome unless your kitchen already has other chrome elements.
How long does this refresh take?
About two to four hours depending on how many cabinets you have. Hardware is the fastest; peel-and-stick takes patience. Budget a full Saturday morning and don't rush the details.
Final thoughts
Renting doesn't mean living with ugly kitchens. These three changes — hardware, peel-and-stick accents, and under-cabinet lighting — are reversible, affordable, and surprisingly transformative. My kitchen now looks like something from a design blog, and my landlord will never know the difference (until he sees how much better it photographs).
Pin this for later
Save this guide to your Pinterest board so it's there when the weekend hits.
📌 Pin it on PinterestWas this helpful?

Emma Clarke
Founder & Editor in Chief
Emma is the founder and editor in chief of HomeBliss. Before starting the magazine she spent twelve years working as an in-home stylist for first-time buyers, renters, and weekend renovators across the UK and US. She believes the best decorating advice is honest, repeatable, and tested in a real home with a real budget — preferably one with a curious dog underfoot.
Related articles
Open Shelving Without the Clutter: A Real-Life Styling Guide
What to keep, what to hide, and the warm wood tone that hides fingerprints best.
Emma Clarke·8 min read
Butcher Block Island: The Complete Buying & Install Guide
Edge grain vs end grain, the species worth the money, and the weekend install that saves thousands over stone.
 Jordan Reyes·11 min read