How I Refreshed My Entire Living Room for Under $500
You don't need a designer's budget to get a designer's look — here's the exact weekend playbook I used.
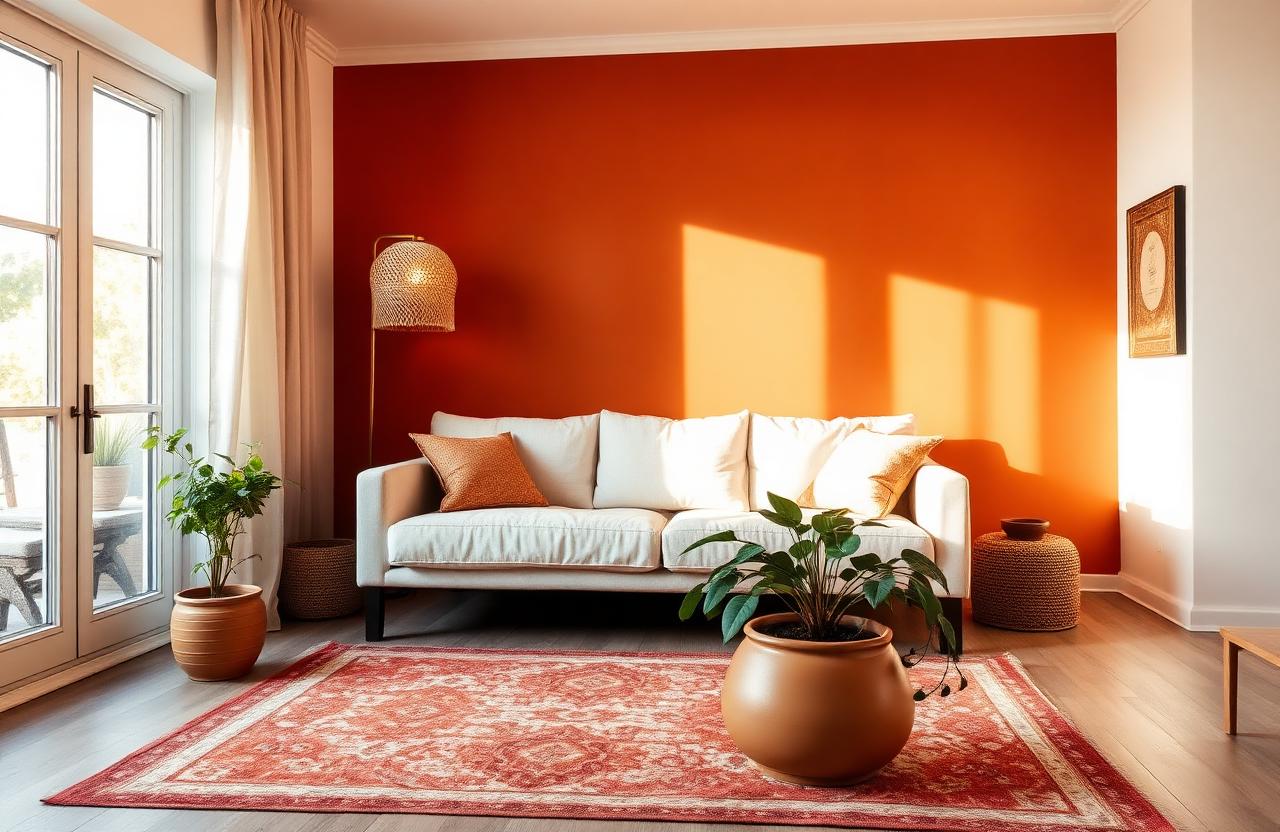
When we moved into our 1970s ranch last spring, the living room was the room that made me want to cry. Wall-to-wall beige carpet, a popcorn ceiling, and a single brass light fixture that hummed at a frequency only the dog could love. The bones were fine — they almost always are — but the room had no point of view, no warmth, no sense of who lived there. So I gave myself a budget of five hundred dollars, a long weekend, and one hard rule: no new furniture. Here is exactly what I did, what it cost, and what I would do differently the second time around.
Why a budget refresh works better than you think
There is a myth in home decorating that you need to do everything at once. Gut the room, buy a whole living room set, hire a painter, the works. But the reality is that most rooms are only two or three intentional changes away from feeling completely different. The trick is finding the changes that actually move the needle versus the ones that just move money from your bank account to a warehouse somewhere. A budget refresh works because it forces you to slow down, look at what you already own, and make choices that connect instead of choices that accumulate.
I have styled living rooms professionally for twelve years, and the single biggest difference between rooms that feel 'done' and rooms that feel like a waiting room? Layers. Not expensive things — layers. A throw over the arm of a sofa. A rug under the coffee table. Three lamps instead of one overhead dome. Those are the details that make a room feel inhabited. And none of them need to cost more than a mid-tier dinner out.
So before you open a furniture catalog, before you start saving for a sectional, take a breath. Walk through your living room with fresh eyes. Ask yourself what is actively working against the room — a wall color that washes everything out, a lighting situation that makes five PM feel like a dentist's waiting room — and start there. The five-hundred-dollar refresh is not about buying a new room; it is about rescuing the one you already have.
Start with the wall the eye lands on first
Every room has one wall your eye finds the second you walk in. Stand in your doorway, close your eyes for a beat, open them, and notice. That is the wall that deserves your paint money. In our case it was the wall behind the sofa, and I painted it a warm, slightly smoky terracotta — the same shade we used on the front door, which made the whole house feel intentional. Terracotta grounds a room the way greige never could, and it plays well with the gold-hour light we get through the front windows.
Two coats of a mid-range eggshell, painters tape, and a single Saturday afternoon. Total cost: fifty-eight dollars including a new roller cover and the small brush I used for cutting in. Everything else I already owned. If you've never painted an accent wall before, know that it is one of the highest-impact, lowest-skill changes you can make in any room. Prep well, tape carefully, and remember that you are only painting one wall, so take your time.
Re-style what you already own before you buy anything
This is the step most people skip and it is genuinely the cheapest decorating advice on the internet. Before you add a single thing to a cart, take everything off every surface in the room and put it in one big pile in the hallway. Every book, every candle, every picture frame, every throw pillow, every plant, every lamp. Make a mountain of it. Then walk back into the empty room and feel how quiet it is. Now, piece by piece, put back only what you love and what works in the new color story. You will end up using maybe sixty percent of what you owned, and the room will look like a different house.
I rotated two armchairs into a conversational L, moved a small console table behind the sofa to act as a bar cart surface, and demoted three throw pillows to the guest room. The pillows were fine — they just didn't belong. The change was immediate. Suddenly the seating felt deliberate, the sightlines made sense, and I hadn't spent a dime yet on furniture. The act of removing and re-placing forces you to see every object again instead of just accepting it as background noise.
Here's what I learned: every object should either be functional or beautiful. Most objects that are neither have stayed in your room out of inertia, not intention. This is the time to let them go. Put them in the donate pile, the garage-sale pile, or the out-of-sight closet pile. You are not throwing away money; you are freeing up visual space.
Where the $500 actually went
I tracked every receipt during this project because I wanted to show that a meaningful room change does not require a four-figure budget. Here is the exact breakdown. Not a single item went over a hundred fifty dollars, and the heaviest investment — lighting — is the thing I would spend the same way again in a heartbeat.
- ✓Paint and roller supplies — $58
- ✓Two large woven floor lamps (clearance at a home store) — $134
- ✓Curtain rod and natural linen panels — $96
- ✓Vintage rug from a local marketplace listing — $140
- ✓Three linen throw pillow covers — $54
- ✓A trailing pothos and a terracotta pot — $18
Total: exactly five hundred dollars. No cheating, no rounding. The rug is the wildcard in any budget refresh — you can spend forty or four hundred — but I would not recommend cheaping out on it. A rug anchors every other choice in a room. It sets the palette, the warmth, and the texture underfoot. Get the rug right and everything else falls into place faster.
The one mistake I would not repeat
I bought the rug first, before I painted, because the listing was about to expire and the price was too good to pass up. The rug is beautiful — a rust and cream pattern with some faded teal in the border — but the terracotta accent wall and the rust in the rug fight a little under afternoon light. They're both warm, but they're not the same warm. If I were doing this again, I would commit to paint first, live with it for forty-eight hours, and then choose textiles. The order matters more than the budget does.
The other thing I'd do differently: I would have bought the floor lamps earlier. Good lighting changes everything, but I waited until Week Three to add them because I was focused on paint and fabrics first. The moment those lamps came on — one in the far corner, one beside the armchair — the whole room exhaled. I should have started there.
"Lighting changes a room faster than furniture. Three lamps at three heights — overhead, mid, and table — and you have a different home."
— HomeBliss reader poll, April 2026
Step-by-step: the weekend timeline
If you have a free weekend and you're ready to try this yourself, here's the exact schedule I followed. You could stretch it over two weekends if that's easier — the paint needs to cure anyway — but knowing what comes next helps you stay focused and avoid mid-project panic purchases.
- 1
Friday evening
Clear every surface in the room. Move furniture to the center. Tape and prep the accent wall. This feels tedious but it is the foundation of everything. Do not rush prep.
- 2
Saturday morning
Apply the first coat of paint. Take a lunch break while it dries. Apply the second coat. Walk away from the house for a few hours to let it cure. Do not touch it.
- 3
Saturday evening
Hang curtains — higher and wider than the window frame. I mounted the rod four inches from the ceiling and extended it eight inches past the window on each side. The room looks taller instantly.
- 4
Sunday morning
Rearrange the furniture. Try at least two layouts before committing. Take phone photos to compare. Live with your favorite for an hour before adding anything back to surfaces.
- 5
Sunday afternoon
Re-style shelves and surfaces using only items from your hallway pile. Be ruthless. Finish editing before you add a single new purchase.
We finished at four on Sunday and ordered pizza. The room is now the place everyone wants to sit, which is the only metric for a living room that has ever mattered.
Frequently asked questions
Can I do this in a rental without losing my deposit?
Yes. Most leases allow you to paint as long as you return the walls to their original color before move-out. Keep a small can of the landlord beige and use painter's tape carefully. For everything else — rugs, lamps, curtains — those move with you. You're building a kit of portable style, not a permanent renovation.
What if I hate the paint color after it dries?
Buy samples first and test them. If you still hate it after a full day of dried paint, repaint. It is annoying, but paint is one of the cheapest things to change in a room. Better to redo it once than live with a color that bothers you every time you walk in.
How do I know what size rug to buy?
In a living room, the rug should be large enough for at least the front legs of all your seating furniture to sit on it. Too-small rugs are the most common mistake I see. When in doubt, go bigger. A rug that floats in the middle of the room makes the space feel cheaper, not larger.
Should I replace the overhead light fixture?
Not necessarily. If your overhead light is ugly, you can often swap the shade or the bulb for a warm amber LED. But the real fix is adding additional light sources at lower heights so you almost never turn the overhead on. Table lamps, floor lamps, and plug-in wall sconces will do more for the room than a new ceiling mount.
What's the one thing you would never skip?
Good lighting. If I only had one hundred dollars and one afternoon, I would spend it on two warm floor lamps and a soft overhead bulb. Lighting sets the mood, hides imperfections, and makes every other decision look more intentional. Paint can wait; lamps cannot.
Final thoughts
Five hundred dollars will not buy you a new living room — but it can absolutely rescue the one you have. The goal is not perfection; it is presence. A room that feels warm when you walk in, that invites you to sit down, that reflects something real about the people who live there. You can get there with paint, light, a good rug, and the courage to edit. Start this weekend. Send me a picture when you are done. I cannot wait to see what you make.
Pin this for later
Save this guide to your Pinterest board so it's there when the weekend hits.
📌 Pin it on PinterestWas this helpful?

Emma Clarke
Founder & Editor in Chief
Emma is the founder and editor in chief of HomeBliss. Before starting the magazine she spent twelve years working as an in-home stylist for first-time buyers, renters, and weekend renovators across the UK and US. She believes the best decorating advice is honest, repeatable, and tested in a real home with a real budget — preferably one with a curious dog underfoot.
Related articles

The Best Paint Colors for 2026 (And the Ones to Skip)
The warm, grounded palette that's quietly replacing greige in every magazine spread.
Emma Clarke·9 min read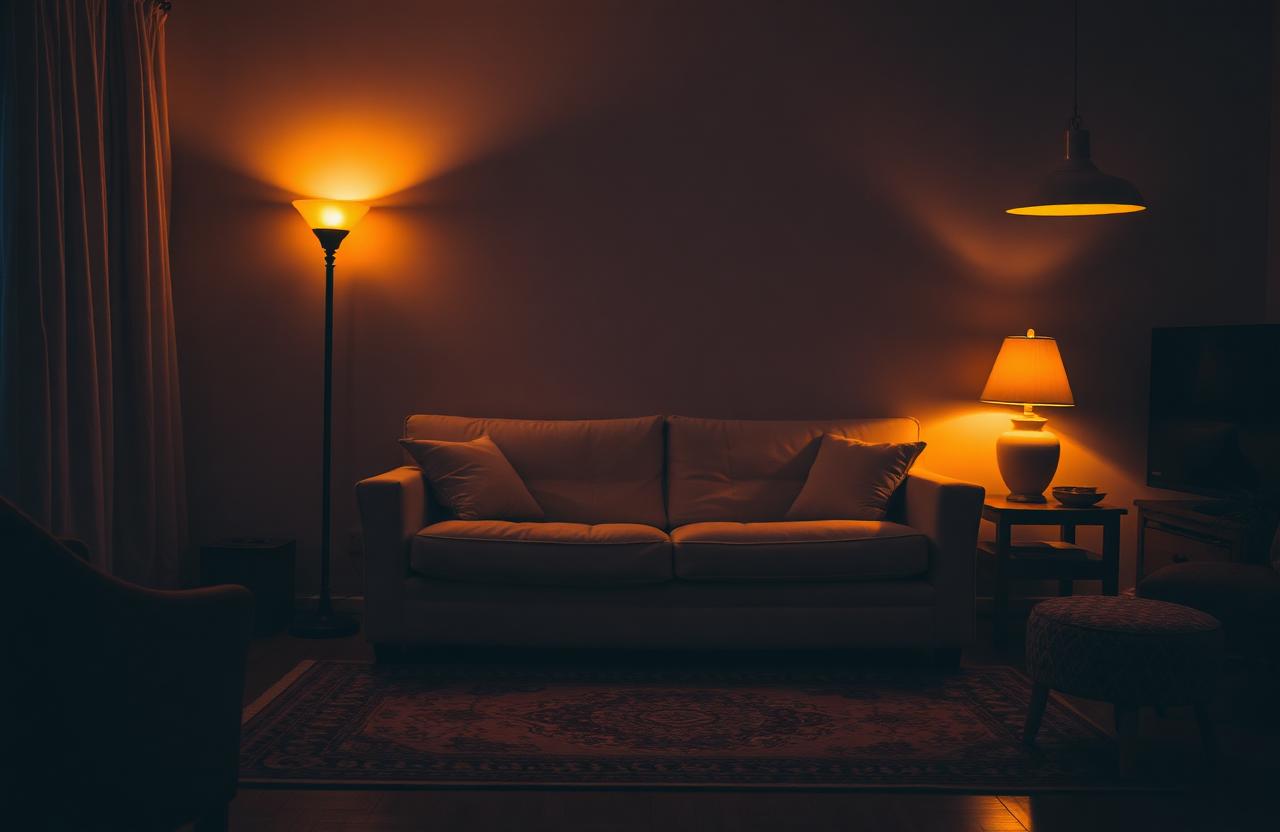
The 3-Lamp Rule That Instantly Makes a Living Room Feel Designed
Three lights at three heights — the formula every interior stylist uses without thinking.
Emma Clarke·8 min read