Thrifted Coffee Table Makeover: From Yellow Oak to Warm Walnut
The gel stain method, the finishing oil, and the $12 thrift find that became my favorite piece.
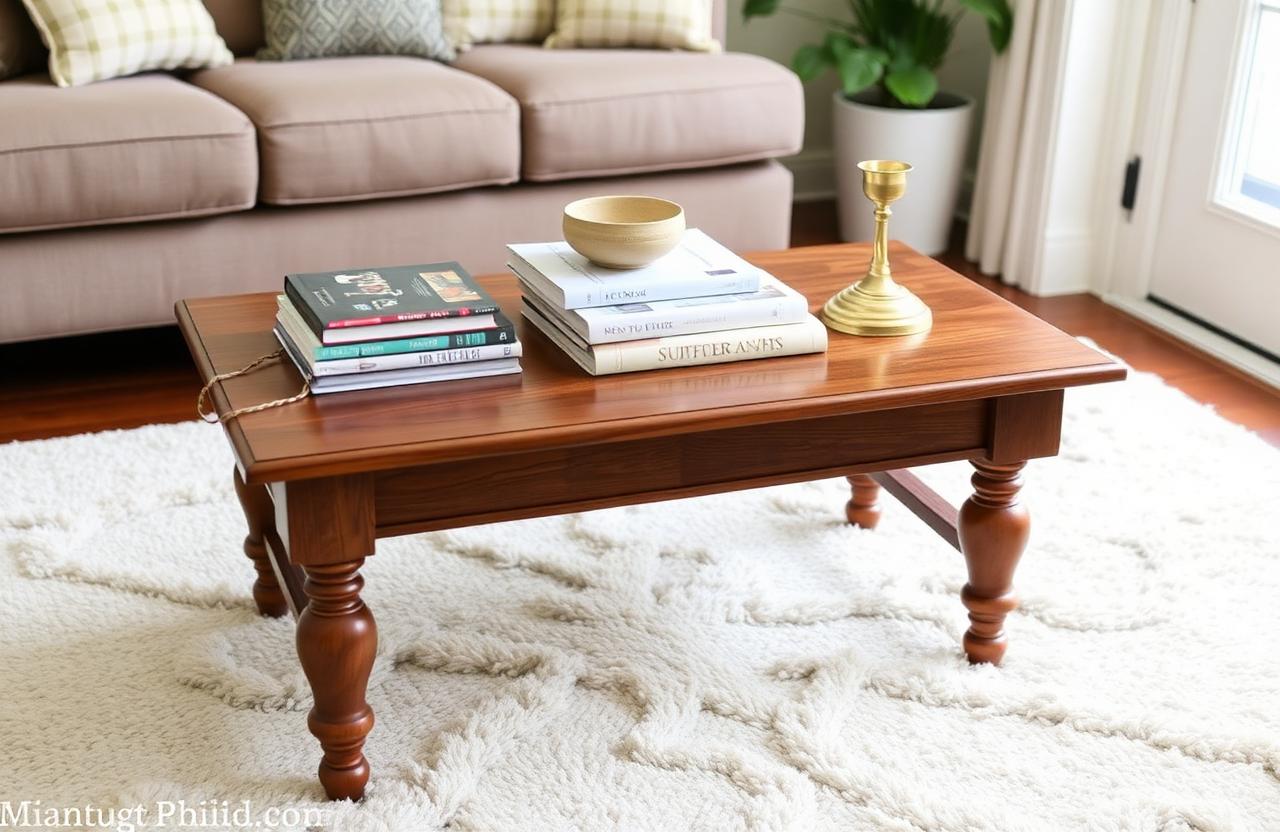
I bought my coffee table for twelve dollars at a garage sale. It was solid wood — oak, probably — but finished in a yellow-orange stain that screamed 1988. My plan: strip the finish, apply a warm walnut gel stain, and seal it. Total cost: under fifty dollars. Total time: one weekend. Here's exactly how the makeover went, plus the gel stain technique that makes refinishing furniture way easier than sanding everything down.
Why gel stain changed the game
Traditional wood stain is thin and soaks into the grain. That's great for raw wood, but if you're working with a previously finished piece, you'd have to sand down to bare wood first — hours of work and a cloud of dust. Gel stain is different. It sits on top of the surface, which means you can apply it over existing finish after just a light scuff-sand. No stripping, no heavy sanding, no regrets.
Gel stain also goes on more evenly on porous woods like oak or pine that absorb traditional stain blotchily. The result is a smooth, consistent color even on difficult surfaces.
What you'll need
- ✓Gel stain in your chosen color (I used General Finishes Java Gel Stain)
- ✓Polyurethane finish (satin or matte, water- or oil-based)
- ✓Sandpaper (220 grit)
- ✓Tack cloth
- ✓Latex gloves
- ✓Foam brushes or lint-free rags
- ✓Drop cloth for mess
Total cost: about thirty-five to fifty dollars depending on what you already own. The gel stain and poly are reusable for future projects.
Step-by-step makeover
- 1
Clean thoroughly
Wipe down the table with a damp cloth to remove dust, grime, and oils. Let it dry completely.
- 2
Scuff-sand
Lightly sand all surfaces with 220-grit paper. You're not removing finish — just dulling the sheen so the gel stain has something to grip. Wipe with a tack cloth after.
- 3
Apply gel stain
Dip a rag or foam brush into the gel stain, then wipe it onto the wood in the direction of the grain. Let it sit for a few minutes, then wipe away the excess. One coat is usually enough for a moderate color shift; two coats for darker results.
- 4
Dry overnight
Gel stain takes longer to dry than traditional stain — usually 24 hours between coats. Be patient.
- 5
Seal with polyurethane
Once the stain is fully cured, apply two to three thin coats of polyurethane, sanding lightly with 400-grit between coats. Let each coat dry according to the label.
The mistakes I made (so you don't have to)
Mistake one: I applied too much stain the first coat and didn't wipe off the excess quickly enough. The result was tacky spots that took forever to dry. Lesson: less is more, and wipe before it sets.
Mistake two: I skipped the tack cloth after sanding and ended up with dust trapped under my first poly coat. Lesson: always tack-cloth between steps.
"A twelve-dollar thrift find became my favorite piece of furniture. That's the DIY promise."
— Jordan Reyes
Frequently asked questions
Can I use gel stain on laminate?
Yes, with caveats. Laminate needs to be sanded or primed first for adhesion. Results are decent but not as durable as on real wood.
How dark can gel stain go?
Very dark — Java is nearly black. Multiple coats deepen the color. Just test on a hidden area first.
Is gel stain food-safe?
Once fully cured and sealed with a food-safe poly (like General Finishes' salad bowl finish), it's safe for surfaces that contact food.
How long does the finish last?
With proper sealing, years. I've had my coffee table for three years now and it still looks great.
Can I do this outside?
Outdoors is actually ideal for ventilation. Just avoid direct sun and temperature extremes while the stain dries.
Final thoughts
Furniture refinishing sounds scary until you try it. Gel stain lowers the barrier to entry dramatically. If you've been staring at a thrift find wondering whether it's worth it — it is. Start this weekend. In three days you'll have a piece you're proud of.
Pin this for later
Save this guide to your Pinterest board so it's there when the weekend hits.
📌 Pin it on PinterestWas this helpful?

Jordan Reyes
DIY Projects Editor
Jordan runs the DIY desk at HomeBliss. A self-taught woodworker and longtime renter, he's spent the last decade figuring out which projects are actually worth doing and which ones cost more than just buying the thing. He writes tutorials the way he wishes someone had written them for him at twenty-three.
Related articles
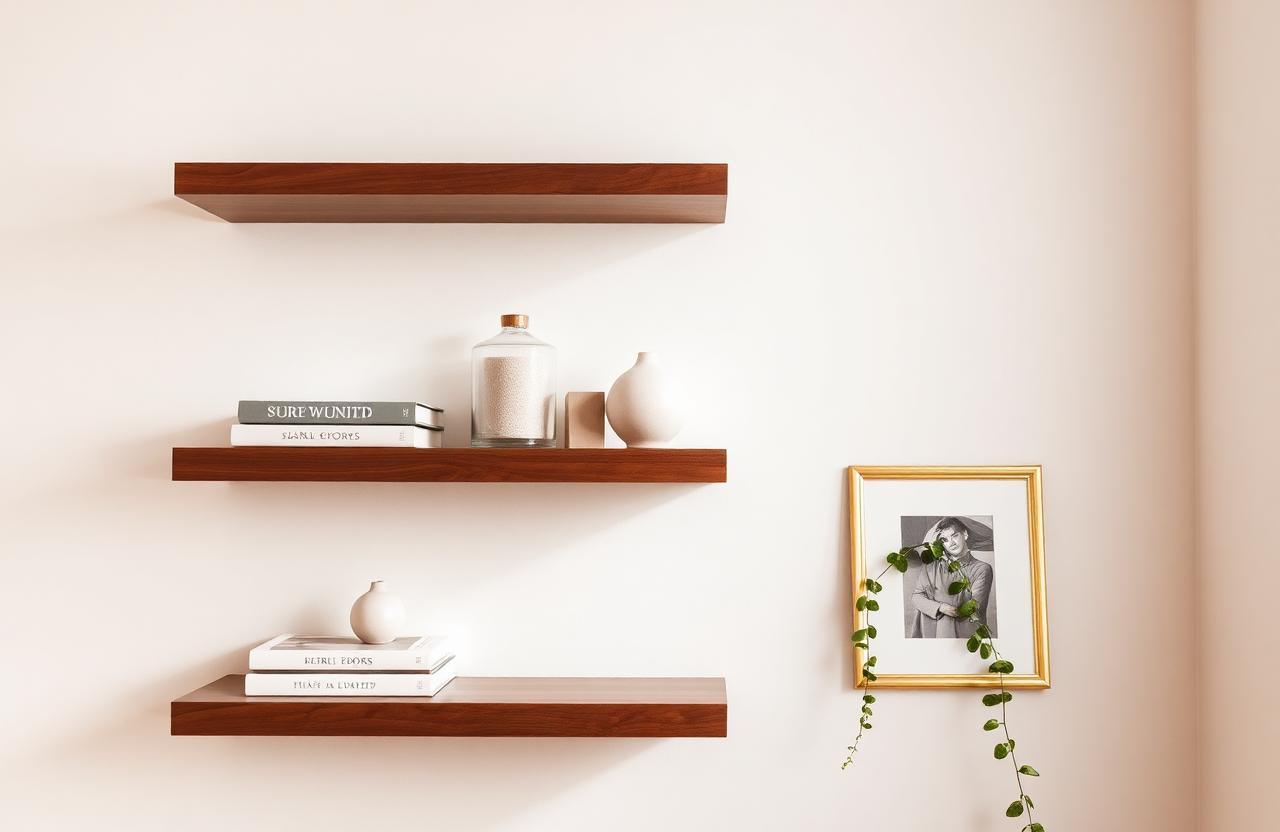
DIY Floating Shelves That Actually Hold Books — In One Weekend
A no-fuss tutorial with the exact hardware list and the mistake most tutorials skip.
Jordan Reyes·14 min read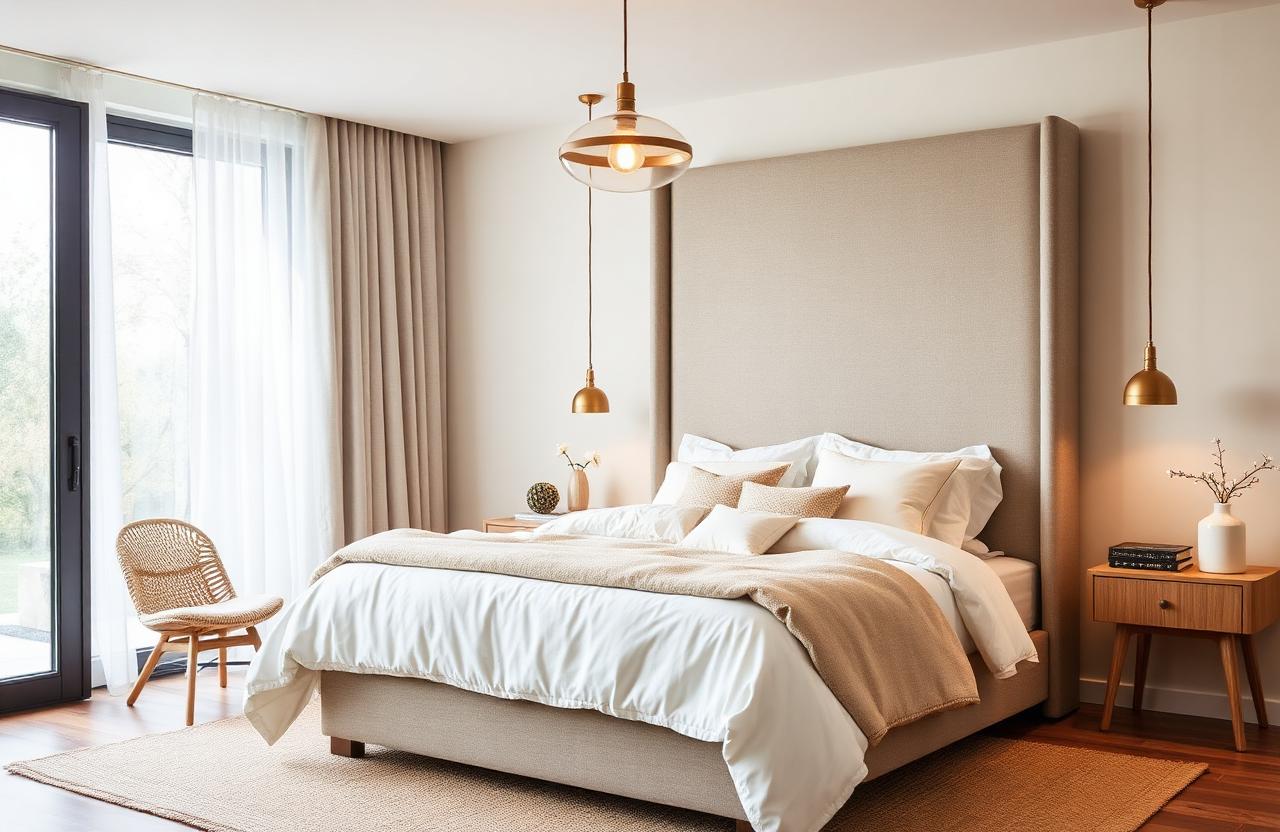
DIY Upholstered Headboard in One Weekend (No Sewing)
A staple gun, a sheet of plywood, and the linen drop cloth secret designers love.
Jordan Reyes·11 min read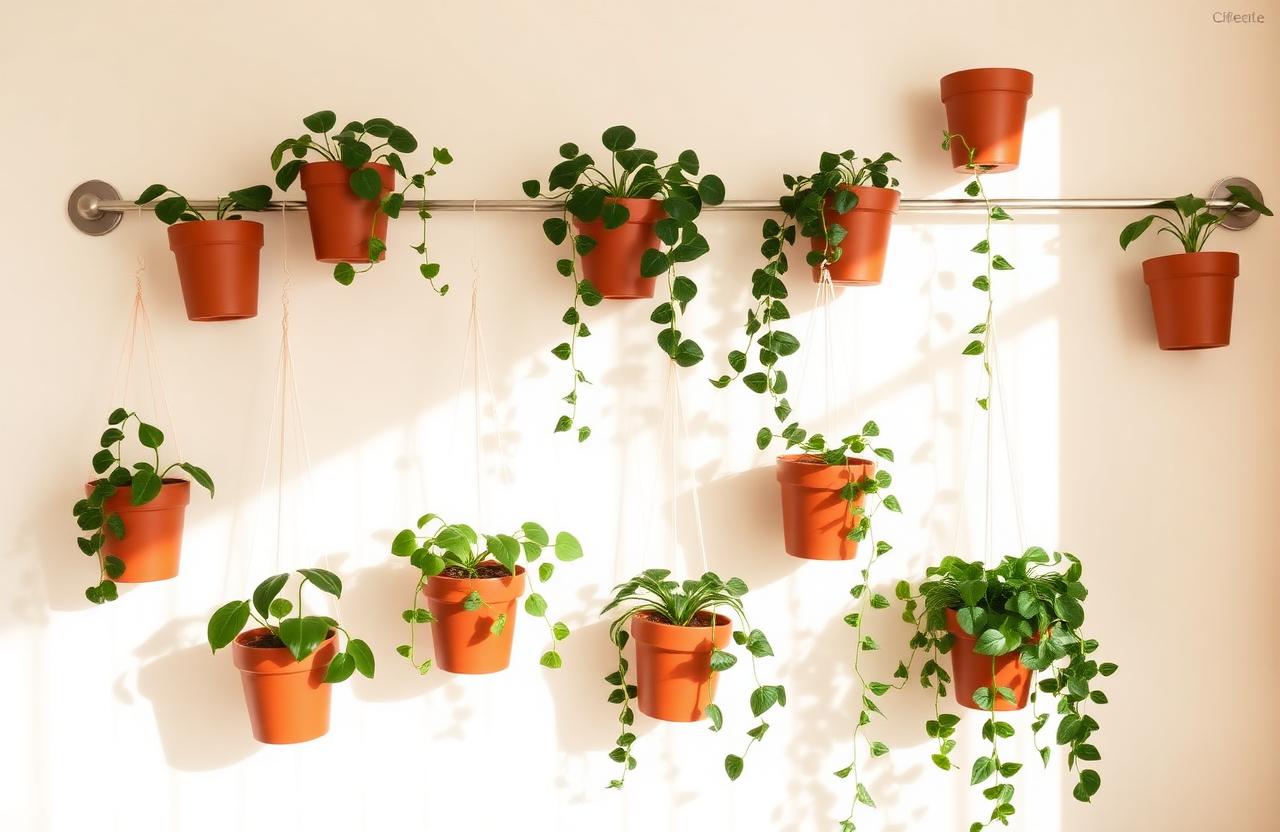
Plant Shelf DIY: The Renter-Safe Version That Holds 12 Pots
Tension rod, two brackets, zero drilling — and a plant care cheat sheet for low-light corners.
Jordan Reyes·9 min read