Plant Shelf DIY: The Renter-Safe Version That Holds 12 Pots
Tension rod, two brackets, zero drilling — and a plant care cheat sheet for low-light corners.
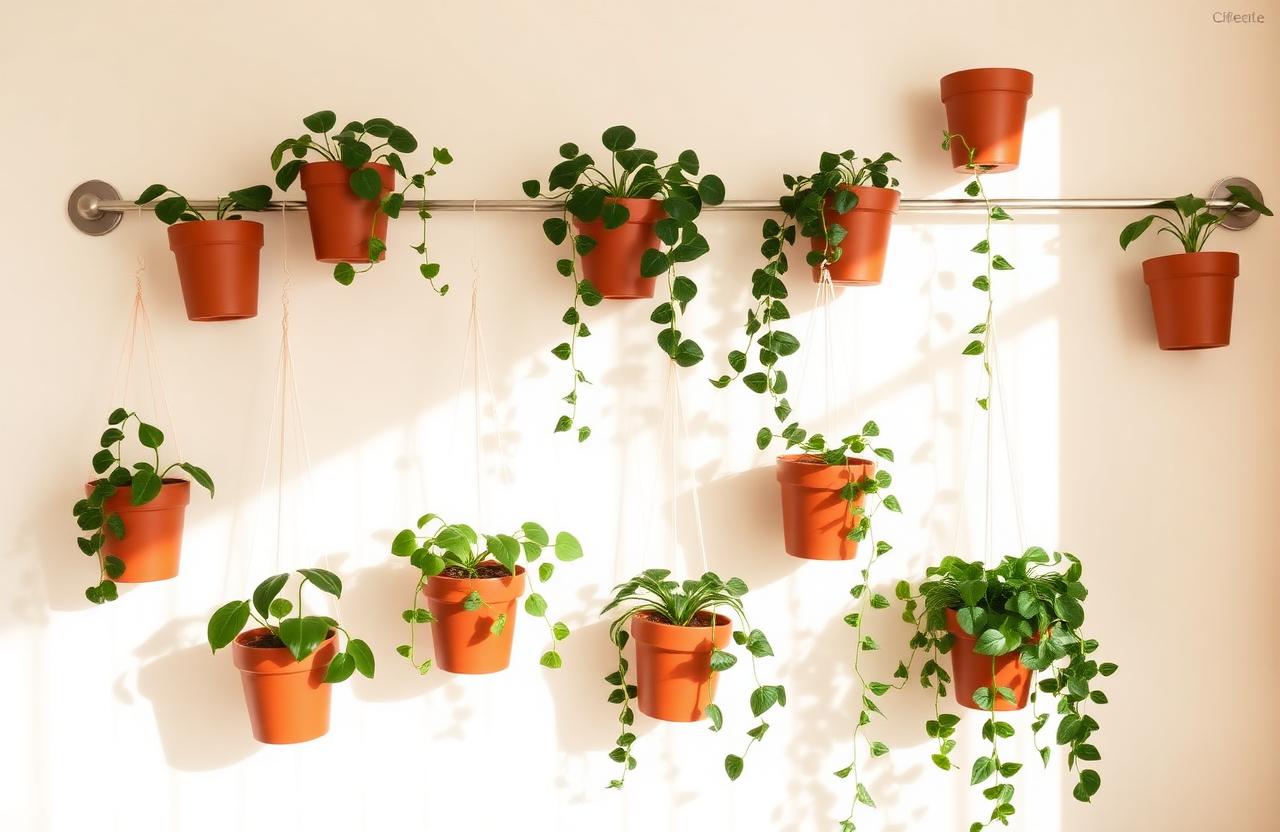
For four years I rented apartments with the same complaint: I want plants, but I can't drill holes. No floating shelves, no wall planters, no vertical jungle. Then I discovered the tension rod solution. One hardware-store run, zero holes in the wall, and twelve plants later, I had a lush shelf that moved with me to three apartments. Here's how to build your own renter-safe plant shelf this weekend.
Why tension rods work better than alternatives
Tension rods grip between two walls without screws, anchors, or adhesive. They're the same mechanism as a shower curtain rod but designed for narrower gaps and heavier loads. For a plant shelf, you combine one long tension rod with wall-mount shelf brackets positioned upside-down — the brackets clip onto the rod, creating a level surface for pots.
The result is a shelf that holds real weight (my version holds twelve small pots, about fifteen to twenty pounds total), installs in ten minutes, and removes without a trace. When I moved, the shelf came with me. No patching, no deposit drama.
What you'll need
- ✓One adjustable tension rod (heavy-duty, rated for at least 20 lbs)
- ✓Two to four shelf bracket clips (designed for tension rods)
- ✓A flat shelf board or acrylic panel (12" deep max)
- ✓12 small plants in 4–6" pots (pothos, ivy, small ferns, succulents)
- ✓Saucers or drip trays for each pot
- ✓Felt pads to protect the wall from rod pressure
Total cost: around fifty to sixty dollars depending on how many plants you already own. The tension rod and brackets are reusable — once you build this once, you can rebuild it in any apartment.
Step-by-step setup
- 1
Measure the gap
Measure the distance between the two walls where you want the shelf. Choose a tension rod that adjusts to fit with a few inches to spare on each end.
- 2
Position the rod
Decide how high you want the shelf — usually somewhere between 48 and 60 inches from the floor. Mark the height on both walls with painter's tape, then extend the rod until it grips firmly.
- 3
Attach the brackets
Clip the shelf brackets onto the rod, spacing them evenly. Most shelves need two brackets for a 24" board, three for a 36" board.
- 4
Lay the shelf board
Set the board on top of the brackets. It should sit level and stable. If it wobbles, adjust bracket spacing or switch to a slightly shorter board.
- 5
Add your plants
Arrange pots on the shelf with saucers underneath. Start with trailing plants at the edges so they can hang down. Step back and admire.
Choosing plants that thrive indoors
Not all plants like shelf life. For a shelf near a window, pothos, philodendrons, and trailing ivy all do well with medium light and occasional watering. For low-light corners, snake plants, ZZ plants, and pothos (again — it's indestructible) are your best bets. Avoid fussy tropicals that need humidity or direct sun unless you're ready to babysit.
"Pothos is the cockroach of houseplants. It survives everything. Start there."
— Jordan Reyes
Frequently asked questions
Will the tension rod really hold twelve pots?
Yes, if you buy a heavy-duty rod rated for at least 20 pounds. Test it before loading it up — if it slips, adjust tighter or add rubber pads at the ends for extra grip.
Can I do this in a wide room?
Tension rods work best in gaps under 48 inches. For wider spans, you'd need a specialty extra-long rod or a different approach like freestanding shelving.
What if the wall is textured?
Texture reduces grip. Use rubber end caps on the rod or place small adhesive furniture pads behind the rod ends. Test before adding weight.
How often do I water shelf plants?
Depends on the plant and the light. Most trailing plants need water every one to two weeks. Stick your finger in the soil — if it's dry an inch down, water. Overwatering kills more houseplants than underwatering.
Can I hang heavier pots?
Keep individual pots under two pounds each. For heavier plants, use a floor planter or a more robust shelving solution.
Final thoughts
Renting doesn't mean living without plants. A tension rod shelf takes ten minutes to install, moves with you when you leave, and gives your favorite trailing plants a place to thrive. Start small — one rod, a few pots, one sunny corner — and expand from there. By this time next year, you'll have a jungle.
Pin this for later
Save this guide to your Pinterest board so it's there when the weekend hits.
📌 Pin it on PinterestWas this helpful?

Jordan Reyes
DIY Projects Editor
Jordan runs the DIY desk at HomeBliss. A self-taught woodworker and longtime renter, he's spent the last decade figuring out which projects are actually worth doing and which ones cost more than just buying the thing. He writes tutorials the way he wishes someone had written them for him at twenty-three.
Related articles
DIY Floating Shelves That Actually Hold Books — In One Weekend
A no-fuss tutorial with the exact hardware list and the mistake most tutorials skip.
Jordan Reyes·14 min read
DIY Upholstered Headboard in One Weekend (No Sewing)
A staple gun, a sheet of plywood, and the linen drop cloth secret designers love.
Jordan Reyes·11 min read
Thrifted Coffee Table Makeover: From Yellow Oak to Warm Walnut
The gel stain method, the finishing oil, and the $12 thrift find that became my favorite piece.
Jordan Reyes·10 min read