DIY Upholstered Headboard in One Weekend (No Sewing)
A staple gun, a sheet of plywood, and the linen drop cloth secret designers love.
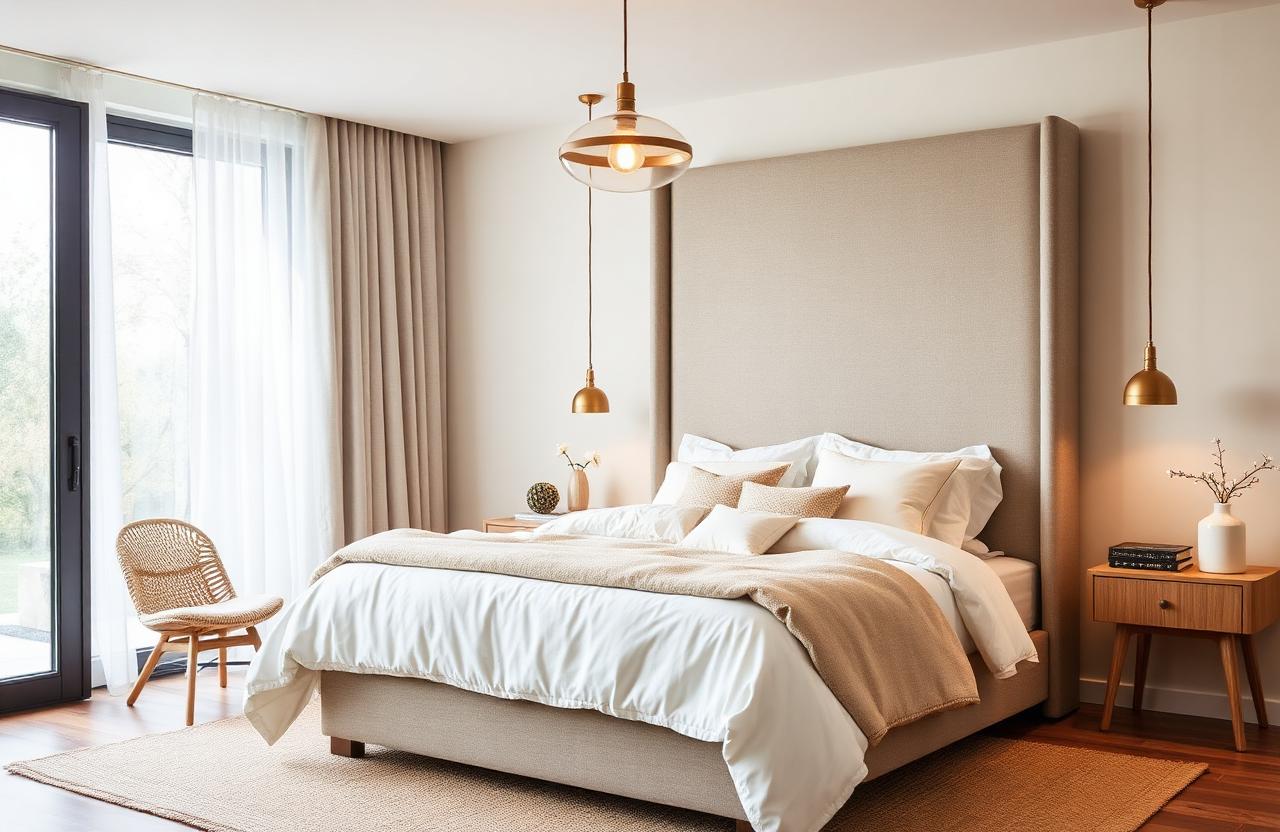
I built my first upholstered headboard because the one I wanted cost fourteen hundred dollars and the one I could afford looked like a dorm room reject. Turns out, an upholstered headboard is surprisingly easy to make yourself — and the result looks custom because it literally is. This tutorial walks you through the whole process: plywood, foam, fabric, staple gun, done. No sewing required, no special tools, just one afternoon and about a hundred twenty dollars in materials. Ready? Let's build a headboard.
Why make your own headboard
A good headboard anchors a bedroom. It makes the bed feel like a destination instead of a mattress on a frame. But retail headboards are expensive, and most of the affordable ones look cheap up close — thin fabric, visible seams, wobbly construction. When you make your own, you control the size, the fabric, and the padding. You can make it taller, wider, or denser than any off-the-rack option. And because you're using good materials, the finished product will last.
The other reason: it's genuinely easy. This is not a weekend woodworking marathon. The whole project takes about four hours, most of which is waiting for things to dry. If you can use a staple gun and cut fabric in a straight line, you can do this.
What you'll need
- ✓One sheet of 3/4" plywood (cut to your headboard dimensions)
- ✓2" thick upholstery foam (same dimensions as the plywood)
- ✓Batting (quilt batting or upholstery batting, enough to wrap the board)
- ✓Fabric of your choice (I used a natural linen drop cloth)
- ✓Spray adhesive
- ✓Heavy-duty staple gun with 3/8" staples
- ✓Two French cleat mounting brackets
- ✓Screwdriver, level, measuring tape
Total cost: about one hundred twenty dollars. The most expensive item is the fabric — linen can add up. Drop cloths from the paint section are a budget-friendly alternative and look almost identical to high-end Belgian linen.
Step-by-step assembly
- 1
Cut your plywood
Have the lumber yard cut it to size or use a circular saw. For a queen bed, I recommend 62 inches wide by 36 inches tall. Sand any rough edges.
- 2
Attach the foam
Lay the plywood flat. Spray adhesive on one side, then press the foam onto it, smoothing out air bubbles. Let it set for 20 minutes.
- 3
Wrap with batting
Lay the batting face-down on the floor. Place the foam side of your plywood face-down on top. Pull the batting around the edges and staple it to the back of the plywood, stretching as you go. Trim any excess.
- 4
Wrap with fabric
Repeat with your outer fabric. Pull tight, fold corners like you're wrapping a gift, and staple securely to the back. Go slowly — neat corners make a big difference.
- 5
Mount the cleats
Attach one half of each French cleat to the back of the headboard, the other half to wall studs. Hang the headboard on the cleats. Step back and admire.
Choosing the right fabric
Linen is my go-to because it softens over time, hides wrinkles, and looks effortlessly expensive. But any medium-weight upholstery fabric will work — velvet, canvas, even a sturdy cotton. Avoid anything too thin (it will show staple marks) or too thick (it will be hard to wrap and staple).
Color matters too. In most bedrooms, neutral tones work best — oatmeal, cream, soft gray. Bold colors can work as a statement piece, but make sure the rest of the room can handle it. A bright orange headboard is a commitment.
"A headboard makes the bed feel like a destination instead of a mattress on a frame."
— Jordan Reyes
Frequently asked questions
How thick should the foam be?
Two inches is the sweet spot. It's plush enough to lean against comfortably but firm enough to hold its shape over time. One-inch foam will feel flat; three-inch foam is overkill for most headboards.
Can I add tufting?
Yes, but it adds complexity. You'll need to drill holes through the plywood, pull thread through, and secure buttons on the back. There are tutorials for this, but I'd recommend making a basic headboard first to get the hang of it.
How do I clean it?
Vacuum with an upholstery attachment periodically. For stains, spot-clean with a damp cloth and mild soap. Linen is forgiving; velvet is less so. Choose your fabric based on your lifestyle.
Will it fit a king bed?
Absolutely. Just cut your plywood wider — 78 inches is standard for a king headboard. The process is identical; you'll just need more fabric and batting.
Can I do this as a renter?
Yes. French cleats require screws in the wall, but they're easy to patch when you move. Alternatively, lean the headboard against the wall behind the bed — it will stay in place on its own.
Final thoughts
This is one of the most rewarding beginner DIY projects you can take on. The result looks like something from a high-end furniture showroom, and you made it yourself in an afternoon. Once you've done one, you'll start noticing headboards everywhere and thinking, I could make that. You can. You already know how.
Pin this for later
Save this guide to your Pinterest board so it's there when the weekend hits.
📌 Pin it on PinterestWas this helpful?

Jordan Reyes
DIY Projects Editor
Jordan runs the DIY desk at HomeBliss. A self-taught woodworker and longtime renter, he's spent the last decade figuring out which projects are actually worth doing and which ones cost more than just buying the thing. He writes tutorials the way he wishes someone had written them for him at twenty-three.
Related articles
DIY Floating Shelves That Actually Hold Books — In One Weekend
A no-fuss tutorial with the exact hardware list and the mistake most tutorials skip.
Jordan Reyes·14 min read
Plant Shelf DIY: The Renter-Safe Version That Holds 12 Pots
Tension rod, two brackets, zero drilling — and a plant care cheat sheet for low-light corners.
Jordan Reyes·9 min read
Thrifted Coffee Table Makeover: From Yellow Oak to Warm Walnut
The gel stain method, the finishing oil, and the $12 thrift find that became my favorite piece.
Jordan Reyes·10 min read